Advice
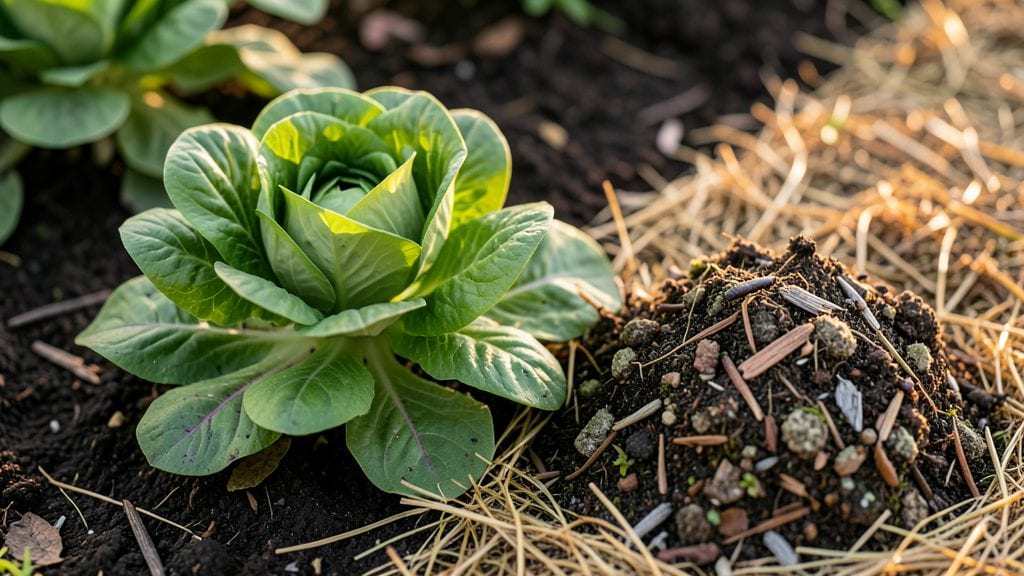
My first organic gardening tip? Healthy soil isn’t just dirt—it’s the foundation of everything that grows. That rich, crumbly earth where worms wriggle and roots spread like secret highways? That’s where the magic happens, and it starts with what you put in it.
I learned the hard way that skipping compost meant fighting weeds, wilting plants, and a harvest that barely covered the cost of seeds.
You don’t need a green thumb or a backyard—just a few basics: compost (homemade or store-bought), mulch to lock in moisture, and a handful of natural fertilizers like fish emulsion or worm castings.
My 5-gallon bucket compost system on the patio turned kitchen scraps into garden gold in just six months. The key is balance: too much nitrogen burns roots, but too little means weak stems that snap in wind.
Start small—one raised bed or a few containers—and watch how plants reward you with vibrant green leaves and actual fruit instead of sad, stunted growth.
Once your soil’s humming, pests become a non-issue. I swapped chemical sprays for neem oil sprays (mix 1 tablespoon with a teaspoon of dish soap and water) and companion planting—marigolds next to tomatoes, basil near peppers.
The aphids? Gone in days. The tomatoes? Bigger, sweeter, and twice as many as the chemical-heavy years. Even my black thumb can’t kill these plants when the soil’s working with me, not against me.
This works year-round, whether you’re prepping beds in spring or protecting roots from winter’s freeze. The only rule? Feed the soil, and it’ll feed you back. No shortcuts, no mystery—just science you can see in every harvest. Ready to dig in?
📚 In This Guide
- What you need
- Instructions
- Tips and common mistakes
- Wrapping up and next steps
What you need
- ● Organic Soil: 1–2 bags (or more, depending on garden size) of compost-rich, well-draining soil (e.g., Miracle-Gro Organic Choice or homemade compost). Aim for a mix of 60% topsoil, 30% compost, and 10% perlite/sand for ideal texture.
- ● Compost: A 5-gallon bucket of finished compost (or a compost bin for DIY). Look for dark, crumbly, earthy-smelling compost—avoid chunks of wood or synthetic additives.
- ● Mulch: 2–3 bags of organic mulch (straw, shredded leaves, or wood chips). 3–4 inches is ideal for moisture retention and weed suppression.
- ● Organic Fertilizer: A balanced organic fertilizer (e.g., fish emulsion, bone meal, or worm castings). Start with 1–2 pounds per 100 sq. ft..
- ● Seeds or Seedlings: Choose heirloom or organic-certified seeds (e.g., tomato, basil, or lettuce). For seedlings, opt for transplant-ready, disease-free plants.
- ● Garden Gloves: 1 pair of durable, breathable gloves (e.g., leather or nitrile-coated). Waterproof is a plus!
- ● Hand Trowel: A stainless-steel or ergonomic trowel (5–7 inches long) for planting and soil prep.
- ● Pruners: Bypass pruners (sharp and clean) for trimming plants. Disinfect with rubbing alcohol between uses.
- ● Watering Can or Hose: A lightweight can (1–2 gallons) with a rose attachment, or a soaker hose for deep watering.
- ● Wheelbarrow: A small 2–3 cubic foot wheelbarrow for hauling soil, mulch, or compost.
- ● Soil pH Test Kit: To check if your soil needs lime (to raise pH) or sulfur (to lower pH). Aim for 6.0–7.0 for most veggies.
- ● Raise Beds (Kits):strong> For better drainage and fewer weeds. 4x8 ft frames work well for beginners.
- ● Drip Irrigation System: Saves water and time—ideal for larger gardens.
- ● Beneficial Insects: Ladybugs or nematodes to naturally control pests. Release them in the early evening.
- ● Journal/Notebook: Track planting dates, weather, and plant progress like a pro!
Instructions for building fertile soil year-round
Here’s how I keep my garden’s foundation healthy without synthetic shortcuts.
Test and Understand Your Current Soil
Before adding anything, grab a handful of moist soil and squeeze it gently. If it crumbles easily, your soil drains well but may lack nutrients. If it stays clumped, it’s too dense and needs organic matter to loosen it. I like to do a simple jar test: fill a clean jar halfway with soil, add water to the top, shake it, then let it sit for 24 hours. The layers that form tell me if I need more compost (for fertility) or sand (for drainage).
You can also use a basic pH test kit to check acidity. Most vegetables thrive in a pH of 6.0 to 7.0, while blueberries need 4.5 to 5.5. If your soil is off, don’t panic—organic amendments will gradually adjust it over time. I keep a small notebook to track changes after each season.
Add Organic Matter Regularly
Spread a 2- to 3-inch layer of compost over your garden beds every 3 to 4 months. I use a mix of finished compost and well-aged manure—chicken or cow—because it breaks down quickly and feeds soil microbes. For areas with heavy clay, I mix in 1 inch of coarse sand to improve drainage without harming the soil structure.
Work the compost into the top 6 inches of soil using a broadfork or your hands. This encourages earthworms and beneficial fungi to mix it in naturally. Avoid tilling too deeply—you’ll disrupt the soil’s natural layers and harm beneficial organisms. Instead, think of it like fluffing a pillow: just enough to loosen and aerate.
Use Cover Crops in Off-Seasons
When your garden isn’t in active use, plant cover crops like clover, vetch, or winter rye. These plants prevent erosion, fix nitrogen in the soil, and protect against weeds. I sow cover crops in late summer or early fall, letting them grow until they’re about 12 inches tall, then cut them down and till them under just before planting season. This adds a fresh layer of organic material without competing with your main crops.
If you’re short on time, even a thin layer of straw or leaves will protect the soil from rain and wind. Just avoid piling it too thickly—1 to 2 inches is enough to do the job without smothering the soil.
Mulch to Retain Moisture and Suppress Weeds
After planting, spread a 3-inch layer of organic mulch—like shredded leaves, straw, or wood chips—around your plants. This keeps the soil moist, regulates temperature, and blocks weeds. I always leave a 1-inch gap between the mulch and plant stems to prevent rot. Over time, the mulch breaks down and adds more organic matter to the soil.
Replenish mulch as it decomposes, especially in hot or dry weather. You’ll know it’s time when you see bare soil peeking through. Mulching also reduces the need for watering, which saves time and keeps your garden thriving with less effort.
Rotate Crops and Feed the Soil
Every year, switch the location of your vegetable families to prevent disease and pests. For example, if tomatoes took up one bed this year, plant beans or peas there next season—they’ll add nitrogen to the soil. I also rotate in green manure crops like mustard or buckwheat to break up compacted soil and attract beneficial insects.
Top-dress beds with a thin layer of worm castings or compost tea every 4 to 6 weeks during the growing season. This gives plants a quick nutrient boost without overloading the soil. The key is consistency—small, regular inputs keep the soil alive and productive all year.
Tips & tricks for building fertile soil year-round
Building healthy soil doesn't have to be complicated—these practical tips will help you create a thriving garden foundation that works for you.
Jar Test Timing: The 24-hour jar test is your best friend for understanding soil composition. After shaking, let the jar sit undisturbed on a flat surface—this prevents sediment from mixing back in. Look for distinct layers: sand at the bottom, silt in the middle, and organic matter floating on top. If you see mostly sand, your soil drains too fast and needs more compost. If it's mostly silt or clay, focus on adding organic matter to improve structure.
Compost Application Strategy: When spreading that 2- to 3-inch layer of compost every 3 to 4 months, don't just dump it on top. Lightly scratch the surface with your broadfork first to create small channels where earthworms can pull the compost down. This mimics natural decomposition patterns and helps nutrients reach plant roots faster. For clay-heavy soils, mix in that 1 inch of coarse sand at the same time—it creates tiny air pockets that improve drainage without harming beneficial microbes.
Cover Crop Selection: Not all cover crops work equally well in your climate. For cooler regions, winter rye is excellent—it grows quickly and adds biomass even in cold weather. In warmer climates, clover thrives and fixes nitrogen while suppressing weeds. If you're growing blueberries or other acid-loving plants, consider buckwheat—it breaks up compacted soil and attracts pollinators while slightly acidifying the soil as it decomposes. Plant cover crops 6-8 weeks before your first frost for maximum benefit.
Mulch Maintenance: That 3-inch layer of organic mulch is doing more than just suppressing weeds—it's creating a microclimate that protects your soil. Check mulch thickness every 4-6 weeks during dry periods. If it's broken down to less than 1 inch, replenish it immediately. For vegetable gardens, straw is ideal because it breaks down slowly and won't mat down like leaves. Always maintain that 1-inch gap around plant stems to prevent rot while still protecting the soil from erosion.
Pro Tips for Organic Gardening Tips
- Building healthy soil doesn't have to be complicated—these practical tips will help you create a thriving garden foundation that works for you.
- Jar Test Timing: The 24-hour jar test is your best friend for understanding soil composition.
- Compost Application Strategy: When spreading that 2- to 3-inch layer of compost every 3 to 4 months, don't just dump it on top.
Frequently asked questions
Got questions about organic gardening? You’re not alone! Here are answers to the most common queries to help you grow like a pro—no green thumb required.
What’s the easiest way to start organic gardening if I’m a beginner?
Begin with container gardening or a small raised bed—it’s low-maintenance and gives you control over soil quality. Start with hardy plants like lettuce, herbs, or radishes, which thrive in partial shade and require minimal fuss. Use composted soil and mulch to retain moisture, and you’ll see results in weeks!
When is the best time to plant organic vegetables?
Timing depends on your climate, but a general rule is to plant cool-season crops (like spinach or peas) 6–8 weeks before the last frost, and warm-season crops (tomatoes, peppers) 2–3 weeks after. Check your local frost dates and opt for succession planting to keep harvests coming all season long.
Are there affordable alternatives to expensive organic fertilizers?
Try compost tea (steep compost in water for a nutrient boost), worm castings (free from vermicompost bins), or homemade compost from kitchen scraps. Banana peels (for potassium) and eggshells (for calcium) are also free, effective amendments.
How do I deal with pests organically without harming my plants?
Start with prevention: Healthy soil = strong plants that resist pests. Use neem oil (diluted) for aphids, soapy water for soft-bodied bugs, or introduce beneficial insects like ladybugs. Row covers and companion planting (e.g., marigolds with tomatoes) also work wonders!
Can I garden organically in hot or cold climates?
Yes! In hot climates, prioritize shade cloth, mulch, and drought-resistant plants like okra or Swiss chard. For cold climates, extend the season with cold frames, row covers, or choose hardy varieties like kale or winter squash. Always amend soil with organic matter to improve resilience.
Wrapping up and next steps
Embracing organic gardening isn’t just about growing plants—it’s about nurturing a healthier planet, one seed at a time! 🌱 By prioritizing soil health, natural fertilizers, and sustainable practices, you’re creating a thriving ecosystem that benefits both your garden and the environment.
Whether you’re a beginner or a seasoned green thumb, every small step—like composting, mulching, or companion planting—makes a big difference.
Ready to take the next step? Start with one actionable tip from this guide—like testing your soil or planting a cover crop—and watch your garden flourish! 🌿 Your future harvest (and the bees!) will thank you.