Vegetables
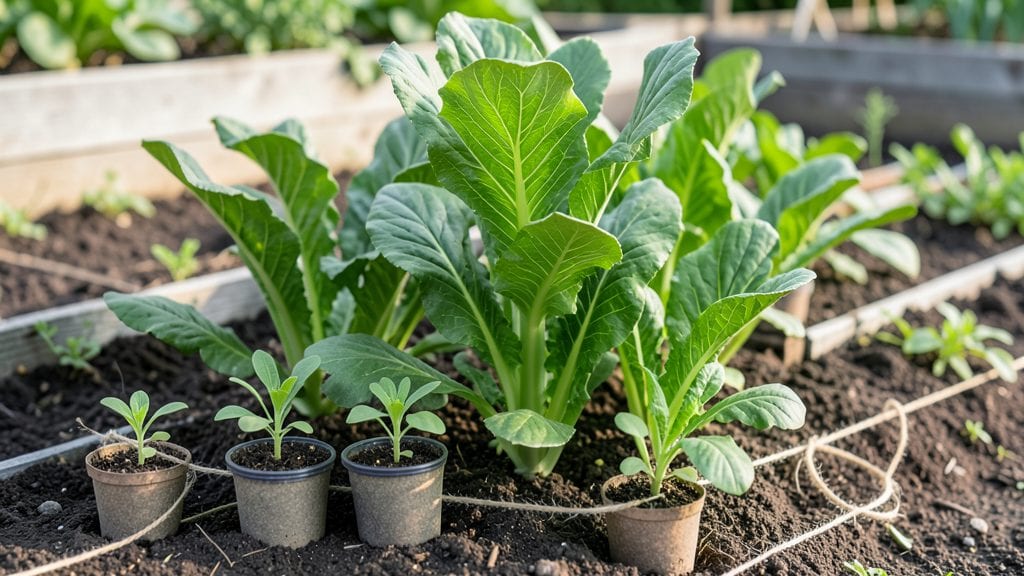
YouTube raised garden beds are transforming small spaces into surprisingly productive plots—my 6x4-foot balcony now yields more tomatoes than my old in-ground garden. The secret lies in smart layouts that maximize every inch, from vertical trellises to tiered beds stacked like a staircase.
These designs aren’t just clever; they’re game-changers for urban gardeners, renters, or anyone with limited yard space.
What makes these layouts work isn’t complicated—just a few key principles. Start with durable materials like cedar or composite lumber for longevity, then plan your bed dimensions to fit your space (even 4x8 feet can produce a ton).
The real magic happens when you layer plants vertically: cucumbers climbing trellises, bush beans in pockets, and herbs along the edges. I’ve seen YouTubers turn a 3x3-foot footprint into a harvest that feeds a family for months.
By the end of this, you’ll have a custom layout that fits your space and your goals—whether that’s salad greens every week or a summer overflowing with zucchini. The best part?
These designs adapt to any climate, from containers on balconies to permanent beds in backyards. Let’s get your raised garden planned so you can start growing where you stand.
Fair warning: once you see what’s possible in a small footprint, you’ll never look at empty space the same way. The videos I’ll point you to show real-world examples—no fancy tools required, just smart design and a little elbow grease.
Ready to turn that corner of your yard (or patio) into a powerhouse?
📚 In This Guide
- What you need
- Instructions
- Tips and common mistakes
- Wrapping up and next steps
What you need
- ● Lumber: 2x6 or 2x8 pressure-treated pine or cedar (rot-resistant) – 8 pieces, 8 ft long each (or adjust based on bed dimensions).
- ● Screws: Deck screws (2.5–3 inches long) – ~50 screws (galvanized or stainless steel).
- ● Landscape Fabric: Heavy-duty (30 lb test) – 1 roll (enough to line the bottom).
- ● Garden Soil: High-quality raised bed mix (or blend of 60% topsoil, 30% compost, 10% perlite).
- ○ Mulch (optional but recommended): Straw, wood chips, or shredded leaves – 1–2 bags.
- ● Circular saw or handsaw
- ● Drill/driver
- ● Tape measure
- ● Level (to ensure even height)
- ● Work gloves & safety goggles
- ● Wheelbarrow (for hauling soil)
- ● Corner brackets: For extra stability (4–8 pieces).
- ● Drip irrigation kit: Automate watering for busy gardeners!
- ● Wood stain/sealant: Protects lumber from weather (choose non-toxic).
- ● Raised bed liner: Landscape fabric or pond liner to prevent soil leakage.
- ● Portable bed: Add wheels for easy relocation.
Step-by-Step instructions for building YouTube-inspired raised garden beds
Here's how to create the same space-saving, high-yield designs you see in popular gardening videos.
Choose and Prepare Your Location
Pick a flat, level spot that gets at least 6 hours of sunlight daily—most YouTube gardeners swear by south-facing beds for maximum productivity. Avoid low-lying areas where water pools after rain. I like to lay down cardboard (from the materials list) to suppress weeds before building, then smooth the ground with a rake to remove rocks or debris.
Measure your space carefully. A common YouTube layout is 4 feet wide by 8 feet long—wide enough to reach the center without stepping inside, but narrow enough to maximize every inch of growing area. Mark the dimensions with stakes and string for precision. If your yard has uneven terrain, consider building on gravel or landscape fabric first to create a stable base.
Assemble the Garden Bed Frame
Start by laying the untreated lumber (from the materials list) in pairs to form the long sides and short ends of your bed. Use the 2.5-inch deck screws to secure the corners at 90-degree angles, making sure the edges are perfectly square. I always double-check with a carpenter’s square before moving forward—crooked beds waste space and look unprofessional in videos.
For extra stability, especially in windy areas, add corner braces to the inside of each corner. Pre-drill holes in the lumber to prevent splitting, then attach the braces with the same screws. Once the frame is complete, flip it over and place it on the prepared ground. Adjust as needed before securing it permanently.
Add the Bottom Layer for Drainage and Soil Support
Line the inside of the frame with landscape fabric to prevent weeds from creeping up from below. This step is crucial—YouTube gardeners often skip it, but I’ve seen too many beds overrun by invasive plants. Cut the fabric to size, leaving a few inches to fold over the edges and secure with staple guns. If your bed is taller than 12 inches, add a 1-inch layer of gravel at the bottom for drainage.
For shorter beds, you can skip the gravel and go straight to the soil mix. I like to layer 2 inches of compost first to improve drainage and fertility. Spread it evenly across the bottom before adding the remaining soil mix. This mimics the layered approach many YouTube gardeners use for container gardens, ensuring roots have room to grow without becoming waterlogged.
Fill and Level the Soil for Optimal Planting
Fill the bed with the soil mix in 2-inch layers, tamping each layer lightly with a board or your hands to eliminate air pockets. Stop when the soil is 2 inches below the top edge of the lumber—this gives you room to add mulch later and prevents spillage when watering. Use a level to ensure the soil surface is perfectly even, adjusting high spots with your hands or adding soil to low areas.
Moisten the soil thoroughly with water before planting. You’ll know it’s ready when water drains through to the bottom within 10-15 minutes. This step is often overlooked in quick YouTube tutorials, but proper moisture levels are key to healthy root development. If the soil feels dry or crumbly, add a little more water and let it settle before proceeding.
Plan and Plant Your Layout for Maximum Yield
Sketch a simple grid on paper to map out your planting scheme—most YouTube gardeners use square-foot gardening for raised beds. Divide your 4x8-foot bed into 1-foot squares and assign each square to a different plant type. For example, place tomatoes in one corner, peppers along the side, and leafy greens in the center where they won’t shade taller plants.
Dig small holes with a trowel, just deep enough to accommodate the roots of your transplants. Space plants according to their mature size—18 inches apart for tomatoes, 12 inches for peppers, and 6 inches for lettuce. Water each hole before placing the plant inside, then firm the soil gently around the base. This method ensures your bed looks as organized as the ones in gardening videos, with no wasted space.
Tips & tricks for perfect YouTube-inspired raised garden beds
Building a raised garden bed that looks as impressive as the ones in gardening videos takes attention to detail—here are my go-to tips to help you get it right the first time.
Location is Everything: That 6 hours of sunlight is non-negotiable for most vegetables. I’ve learned the hard way that even a small amount of shade can drastically reduce your harvest. If your yard doesn’t get full sun, consider positioning your bed on a south-facing wall or fence that reflects light back onto the plants. Also, avoid placing beds near large trees—their roots will compete for nutrients, and falling leaves can create a mess.
Precision Matters in Step 1: When marking your 4x8-foot dimensions with stakes and string, take an extra 5 minutes to double-check your measurements. I’ve seen too many beds that were slightly off-square, making planting awkward and wasting valuable growing space. Use a tape measure to verify each corner before cutting your lumber—this ensures your frame will fit perfectly and look professional, just like the ones you see in videos.
Soil Layering Secret: In Step 3, that 2-inch layer of compost at the bottom isn’t just about drainage—it’s also about creating a nutrient-rich foundation for your plants. I like to mix in a handful of worm castings with the compost for extra microbial activity. For taller beds over 12 inches, the 1-inch gravel layer prevents waterlogging, but don’t skip the landscape fabric—it’s the best weed barrier I’ve found, and it lasts for years.
Planting Layout Pro Tip: When dividing your 4x8-foot bed into 1-foot squares in Step 5, think vertically as well as horizontally. Place your tallest plants—like tomatoes or corn—along the north side of the bed so they don’t shade shorter plants to the south. I also recommend leaving a 6-inch border around the perimeter for easy access when harvesting or weeding. This small adjustment makes a big difference in how organized and productive your garden looks.
Pro Tips for Youtube Raised Gardens
- Building a raised garden bed that looks as impressive as the ones in gardening videos takes attention to detail—here are my go-to tips to help you get it right the first time.
- Location is Everything: That 6 hours of sunlight is non-negotiable for most vegetables.
- Precision Matters in Step 1: When marking your 4x8-foot dimensions with stakes and string, take an extra 5 minutes to double-check your measurements.
Frequently asked questions
Got questions about maximizing your YouTube raised garden beds? You’re not alone! Here are answers to the most common concerns—from setup to troubleshooting—so you can grow like a pro.
What’s the best depth for a raised garden bed to grow vegetables?
Aim for 6–12 inches deep for most veggies (like lettuce, herbs, and radishes). Root crops (carrots, potatoes) need 12+ inches. Deeper beds reduce weeds, retain moisture, and let roots thrive. Pro tip: Layer compost at the bottom to boost drainage and nutrients!
When’s the best time to start planting in raised beds?
Start 4–6 weeks before your last frost date for cool-season crops (spinach, peas) or after frost for warm-lovers (tomatoes, peppers). Raised beds warm up faster than ground soil—perfect for extending your growing season! Check your local frost dates and YouTube tutorials for bed prep timing.
Are raised garden beds more expensive than in-ground gardens?
Upfront costs are higher (materials like wood or bricks), but they save money long-term. No tilling, fewer weeds, and better soil control mean less labor and fertilizer over time. DIY kits or repurposed materials (like cinder blocks) can cut costs too!
How do I keep raised beds from overheating in summer?
Overheating can stress plants. Try these fixes:
- Shade cloth (30–50% coverage) for hot afternoons.
- Mulch (straw or wood chips) to regulate temperature.
- Drip irrigation to keep soil moist and cool.
- Plant heat-tolerant crops (okra, Swiss chard) in peak summer.
Why are my raised bed plants wilting even with enough water?
Wilting can mean root rot, pests, or poor drainage. Check:
- Are the bottom holes too small? Add more for airflow.
- Is the soil compacted or waterlogged? Fluff it with compost.
- Are aphids or slugs sucking moisture? Inspect leaves and add organic pest control.
Wrapping up and next steps
Transforming your space into a thriving raised garden has never been easier—or more rewarding! With YouTube raised garden beds, you’re not just saving space; you’re unlocking the potential for bountiful harvests with minimal effort.
Whether you’re a beginner or a seasoned green thumb, these layouts offer flexibility, accessibility, and big results in small footprints.
Ready to get growing? Start small—pick a design that fits your space and skill level, gather your materials, and dive in! Watch a few YouTube tutorials for inspiration, then roll up your sleeves and build your dream garden. Your future meals (and Instagram-worthy veggies) are waiting! 🌱✨