Landscaping
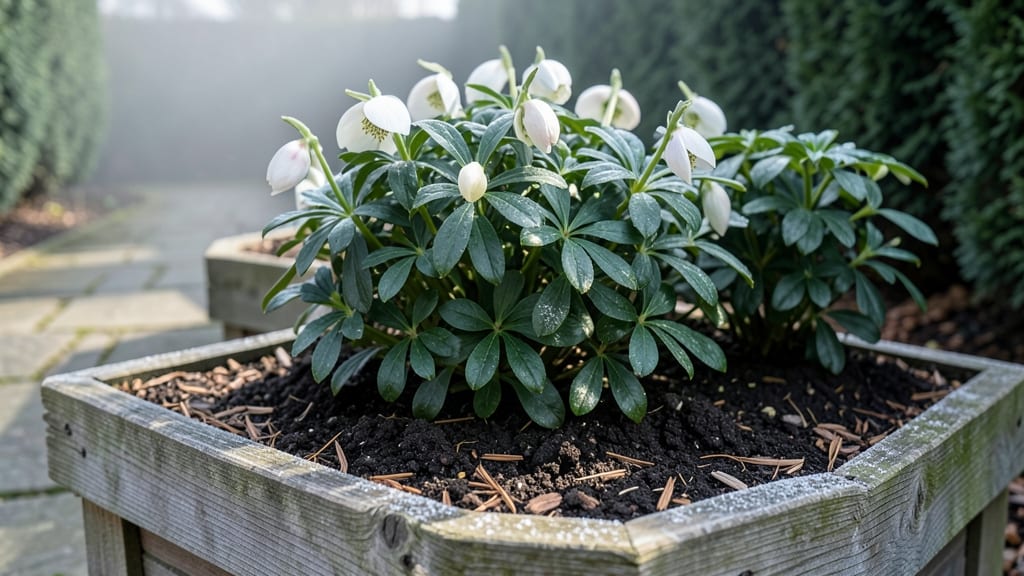
My tiered garden design transformed a dull corner into a lush, layered paradise where every inch counts. 🌿 The key? Stacking plants vertically to create drama while solving drainage problems and maximizing harvests in tight spaces.
I started with simple wooden crates and now have a thriving system that produces more in half the footprint.
You don’t need fancy materials—pallets, stone slabs, or even repurposed containers work beautifully. The secret lies in matching plant heights: tall perennials on the bottom, mid-height annuals in the middle, and trailing herbs or flowers spilling over the edges.
This creates natural transitions while keeping maintenance simple—watering from above saves time, and pests have fewer places to hide.
Imagine walking past and seeing jewel-toned blooms cascading down each level, their fragrance mixing with the earthy scent of fresh soil. My vegetable tiers now yield twice as many tomatoes and peppers because the elevated beds warm faster in spring.
The design even adds visual depth to small yards, making them feel like lush, multi-layered gardens.
Whether you’re working with a balcony, patio, or backyard, tiered gardens adapt to any space. Start small with just two levels, then expand as you discover what thrives in your climate. The best part? Every layer tells a story—your story—of how you make beauty grow in the space you have.
📚 In This Guide
- What you need
- Instructions
- Tips and common mistakes
- Wrapping up and next steps
What you need
- ● Tiered planters or raised beds: 2–5 units (depending on design), made of wood, metal, or composite materials (4–6 ft wide, 12–18 in deep).
- ○ Soil: High-quality potting mix or garden soil (1–2 cubic yards, depending on planter size). Optional: Add compost or organic fertilizer for nutrient-rich soil.
- ● Drainage materials: Gravel, pebbles, or landscape fabric (1–2 bags) to prevent waterlogging.
- ● Plants: Choose drought-tolerant, trailing, or compact varieties (e.g., ferns, succulents, or herbs) based on your climate.
- ● Tools: Trowel or hand shovel
- ● Wheelbarrow (for soil transport)
- ● Level (to ensure even tiers)
- ● Measuring tape
- ● Saw (if customizing wood planters)
- ● Decorative accents: Solar-powered lights, small statues, or mosaic tiles for flair.
- ● Erosion control: Landscape fabric or coir mats to stabilize soil.
- ● Watering system: Drip irrigation or a self-watering planter kit for low-maintenance care.
- ● Weatherproofing: Sealant (for wood planters) or rust-proof coating (for metal).
How to create a stunning tiered garden design
Elevate your outdoor space with this simple, space-saving approach that adds drama and functionality.
🪴 Step 1: Plan Your Tiered Layout and Select Containers
Start by sketching a rough design on paper, keeping in mind that each tier should be 12-18 inches apart vertically for easy access and drainage. I like to use stackable planters or elevated wooden crates for a rustic look, while plastic or ceramic pots work well for a more polished aesthetic. Place taller plants on the bottom tier and smaller, trailing varieties on top to create visual interest.
Measure your space first—tall tiers need at least 2 feet of clearance above to avoid hitting them when walking by. If you’re using pre-made containers, check their weight capacity, especially for heavy materials like stone or wood. I always place the heaviest tier at the bottom to avoid tipping hazards.
☀️ Step 2: Choose Plants for Each Level
Select plants based on their mature size and sunlight needs. The top tier is perfect for trailing plants like petunias, ferns, or creeping thyme, while the middle tier can hold medium-height plants such as geraniums, salvias, or ornamental grasses. Reserve the bottom tier for tall plants like lavender, rosemary, or dwarf boxwoods.
Group plants with similar water needs together to simplify care. For example, succulents and herbs thrive with less moisture, while ferns and impatiens prefer consistently damp soil. I always label each tier with the plant names and care notes to avoid confusion later.
💧 Step 3: Prepare and Fill Containers with Soil
Use a well-draining potting mix (never garden soil—it compacts in containers) and fill each tier 2 inches below the rim to allow for watering. Tap the containers gently to settle the soil, then add a slow-release fertilizer mixed into the top 2 inches of soil for steady nutrition. For heavier containers, place them on saucers or trays to catch overflow and protect surfaces.
If your tiers have drainage holes, line the bottom with landscape fabric to prevent soil from washing out while still allowing water to drain. I like to add a 1-inch layer of gravel at the bottom of each container for extra drainage, especially in rainy climates.
🌱 Step 4: Plant and Arrange for Visual Balance
Dig holes in each container twice as wide as the root ball and place plants at the same depth they were in their nursery pots. Space smaller plants 6-8 inches apart and larger ones 12-18 inches apart to allow room for growth. Fill gaps with mulch to retain moisture and suppress weeds, keeping it 1-2 inches deep and away from plant stems.
Arrange plants so the tallest ones face the back of the tier and smaller ones spill over the edges. Step back occasionally to check for balance—uneven tiers look unnatural. I often add small decorative stones or pebbles around the base of each tier to tie the design together.
✂️ Step 5: Water, Mulch, and Maintain
Water each tier deeply until water runs out the drainage holes, then wait until the top inch of soil feels dry before watering again. Mulch helps retain moisture, so I reapply it every 2-3 months or after heavy rain. Fertilize every 4-6 weeks during the growing season with a balanced, water-soluble fertilizer to keep plants thriving.
Prune trailing plants regularly to encourage bushier growth, and deadhead spent blooms to prolong flowering. If you notice leaves wilting or yellowing, check the soil moisture and adjust watering accordingly. A tiered garden is low-maintenance once established, but a little attention keeps it looking fresh all season.
Tips & tricks for perfect tiered garden design
Here's what nobody tells you about creating tiered gardens that actually work—and last.
Container Stability: The 12-18 inch spacing between tiers isn't just for looks—it's a safety measure. I learned this the hard way when my top tier toppled after a heavy rain. Always secure containers with non-slip pads or small decorative anchors. For wooden crates, add corner weights if needed, especially in windy areas. This simple step prevents the kind of disaster that turns your garden into a science experiment.
Drainage Strategy: That 1-inch layer of gravel at the bottom isn't optional—it's essential for preventing root rot in containers. If your tiers don't have drainage holes, drill them yourself or use containers with built-in saucers. I've seen beautiful tiered gardens ruined by soggy soil that suffocated plant roots. The gravel creates an air pocket while still allowing excess water to escape.
Plant Placement Pro Tip: When arranging your plants, think about their mature size—not their current size. That tiny petunia you're placing on the top tier will eventually trail down 12 inches or more. I like to sketch my design on graph paper first, using different colored dots to represent each plant's mature width. This visual helps me avoid overcrowding that leads to competition for sunlight and nutrients.
Watering Wisdom: The "top inch of soil feels dry" rule works, but here's the secret: Check the soil at the same time every day to establish a routine. Morning is ideal because it gives plants all day to absorb moisture before evening. I also water the bottom tier first—this way, water cascades down through the tiers, ensuring everything gets hydrated without creating muddy messes. This method saves me 30% more water than watering each tier individually.
Pro Tips for Tiered Garden Design
- Here's what nobody tells you about creating tiered gardens that actually work—and last.
- Container Stability: The 12-18 inch spacing between tiers isn't just for looks—it's a safety measure.
- Drainage Strategy: That 1-inch layer of gravel at the bottom isn't optional—it's essential for preventing root rot in containers.
Frequently asked questions
Got questions about tiered garden design?
Here are some of the most common ones—and their practical answers—to help you get started with confidence!
What’s the best material for tiered garden planters?
Durable, lightweight, and weather-resistant materials work best. Cedar or redwood (naturally rot-resistant) are top choices, while plastic or fiberglass offer low-maintenance alternatives. For heavy-duty designs, galvanized steel or concrete tiers add stability but may require sealing.
When is the best time to install a tiered garden?
Spring or early fall are ideal! Spring lets you plant warm-season crops early, while fall avoids summer heat stress. Avoid winter installation unless you’re in a mild climate—frost can damage materials or disrupt root systems. Pro tip: Start with lightweight tiers in spring to avoid soil compaction before planting.
Can I DIY a tiered garden, or should I hire a pro?
DIY is totally doable for simple designs (e.g., 2–3 tiers with pre-made planters), but complex layouts—like multi-level stone or concrete structures—may need professional help for stability. Budget tip: Buy secondhand planters or repurpose materials (e.g., old wooden crates) to cut costs!
How do I prevent soil erosion in tiered gardens?
Use landscape fabric under tiers to block weeds and retain moisture, then top with gravel or mulch to slow water runoff. For steep tiers, add retention walls or cascading plants (like ferns or ivy) to anchor soil. Water gently at the base—avoid overhead spraying to preserve structure.
What if pests or weeds take over my tiered garden?
Prevention is key! Use organic mulch (like straw) to deter weeds and introduce beneficial insects (e.g., ladybugs) to control pests. For stubborn invaders, hand-pull weeds early or apply neem oil. Design hack: Space tiers 12+ inches apart for airflow and easier access.
Still stumped? Drop your specific challenge in the comments—we’re happy to help!
Wrapping up and next steps
A tiered garden design isn’t just about stacking plants—it’s about transforming space into a lush, functional masterpiece. Whether you’re working with a small balcony or a sprawling backyard, layers elevate both aesthetics and usability, making every inch count. 🌿
Ready to bring your vision to life? Start small—sketch your layout, gather materials, and take it step by step. Your dream garden is just one tier away!