Container Gardens
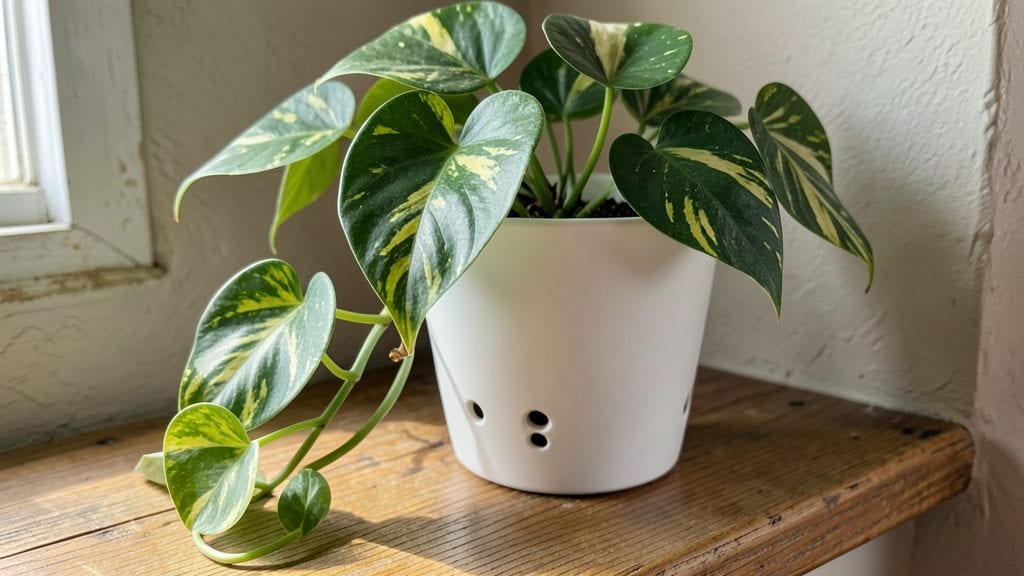
Maximizing indoor apartment gardens means turning even the smallest windowsill into a thriving green oasis. 🌱 I’ve turned my 400-square-foot apartment into a year-round herb and greens factory by focusing on light-hungry plants like basil, mint, and leafy lettuce—no fancy setups required.
The key is matching the right plants to the light you actually have, whether it’s a south-facing window or a grow light on a shelf.
Start with 3-5 gallon containers for herbs and shallow trays for greens—both fit neatly on countertops or hanging racks. Use well-draining potting mix and keep watering simple: check soil moisture before watering again.
My windowsill setup produces enough basil for pesto every two weeks, and the mint stays lush even in winter. The secret? Rotating plants weekly to ensure even light exposure.
By summer, you’ll harvest crisp lettuce, fragrant herbs, and enough microgreens for salads daily. The best part? These plants clean the air while adding life to any space. Plus, you’ll save money and avoid the wilted herbs at the grocery store. Let’s get those containers organized and growing!
Works for any apartment layout—stack shelves vertically, use wall-mounted planters, or repurpose kitchen cabinets. Even north-facing windows can work with the right light-boosting tricks. Here’s how to make the most of every inch.
📚 In This Guide
- What you need
- Instructions
- Tips and common mistakes
- Wrapping up and next steps
What you need
- ● Containers: 3–5 6–12-inch deep pots (with drainage holes) – 1–2 per plant type
- ○ Self-watering planters (optional, for low-maintenance care) 💡
- ● Growing Medium: High-quality potting mix (sterilized, well-draining) – 1–2 bags
- ○ Perlite or vermiculite (optional, for aeration – 1 small bag) ✨
- ● Seeds or Seedlings: Herbs: Basil, parsley, cilantro, or mint (fast-growing, sunlight-loving) – 5–10 seeds or 3–5 seedlings
- ● Leafy greens: Lettuce (butterhead or romaine), spinach, or kale – 3–5 seedlings
- ● Tools: Small hand trowel or spoon (for transplanting)
- ● Misting bottle (for humidity control)
- ● Pruning shears (for harvesting and trimming)
- ○ pH testing kit (optional, to monitor soil health) 🌡️
- ● A sunny windowsill (south- or west-facing ideal) – 4+ hours of direct sunlight daily.
- ● Access to clean water (filtered or room-temperature tap water).
- ● Basic household items: Paper towels, spray bottle, and a timer (for watering reminders).
Step-by-step guide to designing sunlight-maximizing indoor apartment gardens
Here’s how to transform limited light into a thriving herb and greens oasis—no green thumb required.
🪴 Step 1: Select Containers and Optimize Light Exposure
Start with 4 shallow, wide containers (6-8 inches deep) to maximize surface area for light absorption. I prefer unglazed terra cotta pots because they wick away excess moisture and allow roots to breathe—critical for leafy greens and herbs in tight spaces. Place containers on adjustable plant stands near your brightest window (south- or west-facing is ideal). If natural light is weak, position them within 12 inches of a grow light for 14-16 hours daily.
Rotate containers quarter-turn weekly to prevent leggy growth. You’ll notice stems bending toward the light—this is your cue to reposition or supplement with artificial light. For 4 plants, use 1 gallon of high-quality potting mix (never garden soil—it compacts and suffocates roots). Pre-moisten the mix until it’s damp like a wrung-out sponge, then fill containers to 1 inch below the rim. This ensures roots have room to expand without spilling over.
☀️ Step 2: Choose Sunlight-Adaptive Varieties and Plant Strategically
Select 4 fast-growing, low-light-tolerant varieties: baby spinach, arugula, parsley, and chives. These thrive in 4-6 hours of indirect light daily and won’t bolt (flower prematurely) like basil or cilantro. Plant seeds ¼ inch deep, spacing them 1 inch apart in rows. For transplants, dig holes twice as wide as the root ball and nestle plants in gently, firming soil around the base. Water immediately after planting to settle roots—use room-temperature water to avoid shocking tender seedlings.
Here’s the trick: layer plants by light needs. Place leafy greens (spinach, arugula) closest to the window—they handle partial shade better. Position herbs (parsley, chives) slightly farther back where they’ll get 4-5 hours of morning sun. If your space is uniformly dim, supplement with a full-spectrum LED grow light on a timer. You’ll see first true leaves in 7-10 days—this is your signal that the roots have anchored.
💧 Step 3: Master Moisture Control Without Overwatering
Water only when the top inch of soil feels dry to the touch—this prevents root rot while keeping leaves lush. Use a spray bottle with fine mist for seedlings and a watering can with a narrow spout for established plants. Aim for bottom-watering when possible: place containers in a tray of ½ inch of water for 10-15 minutes, letting roots drink up moisture. This method reduces fungal risks and ensures even hydration. Empty excess water after 30 minutes to avoid soggy soil.
Humidity is key indoors. Group containers together and cover with a clear plastic dome (or even a cut-open plastic bottle) for the first 5-7 days to retain moisture. Once seedlings sprout, remove the dome immediately—trapped humidity invites damping-off disease, which collapses stems overnight. After that, mist leaves lightly 2-3 times weekly to mimic outdoor dew cycles. You’ll notice glossy, vibrant leaves within a week of consistent moisture management.
✂️ Step 4: Prune and Harvest for Continuous Growth
Start harvesting outer leaves when they reach 3-4 inches tall, using clean scissors to snip just above a leaf node. This encourages bushier regrowth and prevents bolting. For leafy greens, cut ½ the plant at once—regrowth is faster than you’d expect. With herbs, pinch back flower buds as soon as they form to redirect energy into leaf production. You’ll have continuous harvests every 2-3 weeks if you prune regularly.
Fertilize every 4-6 weeks with a balanced liquid fertilizer (diluted to half-strength). Over-fertilizing burns roots in small containers—stick to the ¼ teaspoon per gallon rule. If leaves yellow between veins, you’re overwatering. If they brown at the edges, the air is too dry. Adjust your routine accordingly. With 4 plants, you’ll enjoy fresh greens and herbs year-round—no balcony required.
Tips & tricks for perfect indoor apartment gardens
These game-changing strategies will help you transform your limited light space into a thriving herb and greens sanctuary—without the common pitfalls that derail most indoor gardeners.
Light Optimization: The 14-16 hour daily light requirement for your grow light isn't just a suggestion—it's non-negotiable for these light-sensitive varieties. I recommend setting your timer for 16 hours if possible, especially during winter months when natural light is weakest. Position the light just 6-8 inches above the plants (closer than the 12-inch recommendation) for the first 7-10 days until you see those first true leaves appear. This jumpstart gives seedlings the energy boost they need to establish strong roots quickly.
Container Material Matters: While terra cotta is ideal, don't dismiss plastic or ceramic containers entirely. The key is drainage—every container must have drainage holes. I've had great success with recycled plastic takeout containers (poke holes in the bottom!) for temporary setups. The critical factor is maintaining that 1-inch gap between soil and container rim—this prevents spillage while allowing root expansion. Pro tip: Place a saucer under each container to catch excess water, but empty it after 30 minutes to prevent root suffocation.
Strategic Plant Layering: That 4-6 hour light window for leafy greens vs. 4-5 hours for herbs isn't arbitrary—it's about their natural light requirements. I've found that placing spinach and arugula in the front containers creates a natural light filter for the herbs behind them. This mimics the gradual light transition plants experience outdoors. If your herbs start looking pale after a few weeks, they're getting too much indirect light—move them back slightly. The goal is to see vibrant green leaves, not bleached-out foliage.
Harvesting Technique: When harvesting those outer leaves at 3-4 inches tall, resist the urge to cut too close to the base. Always leave at least 1 inch of stem attached—this preserves the plant's ability to produce new growth. I've seen beginners cut too aggressively and end up with stunted plants that take weeks to recover. For continuous harvests every 2-3 weeks, focus on the largest outer leaves first. This encourages bushier regrowth while maintaining the plant's energy balance. Think of it as pruning your hair—you want to shape it, not shave it all off!
Pro Tips for Indoor Apartment Gardens
- These game-changing strategies will help you transform your limited light space into a thriving herb and greens sanct...
- Light Optimization: The 14-16 hour daily light requirement for your grow light isn't just a suggestion—it's non-negot...
- Container Material Matters: While terra cotta is ideal, don't dismiss plastic or ceramic containers entirely. The key...
Frequently asked questions
Got questions about bringing greenery into your apartment? Here are some answers to help you grow confidently—even in limited space!
How can I grow herbs and greens without much natural sunlight?
Use a grow light (LED or fluorescent) 12–16 inches above plants for 12–14 hours daily. South-facing windows work best, but rotate pots weekly for even light. For zero windows? Try low-light varieties like parsley, mint, or Swiss chard.
Are indoor gardens expensive to start?
Not at all! Start small with $20–$50 for seeds, containers, soil, and basic lights. Repurpose items like mason jars or old tin cans. Skip fancy setups—herbs like basil and lettuce thrive in DIY setups with just water, soil, and a sunny spot.
How quickly can I expect to harvest?
Leafy greens like baby spinach or kale are ready in 3–4 weeks, while herbs such as cilantro or dill take 4–6 weeks. Fastest picks? Microgreens sprout in 7–10 days! Check seed packets for exact timelines.
What’s the best way to keep pests away?
Prevent pests with clean containers and well-draining soil. Spray plants with neem oil (1 tsp per quart of water) weekly. Avoid overwatering—fungus gnats love soggy soil. Introduce beneficial insects like ladybugs for organic control.
Can I grow these indoors year-round?
Yes! Control the environment with consistent light, temperature (65–75°F), and humidity. Use a thermometer and adjust lights/heat as needed. Winter? Boost light duration to 14–16 hours to compensate for shorter days.
Wrapping up and next steps
Transforming your apartment into a thriving indoor garden is easier—and more rewarding—than you think! 🌱 With the right sunlight-maximizing herbs and leafy greens, even small spaces can become lush, productive havens. Start small, experiment with placement, and soon you’ll be harvesting fresh flavors right from your windowsill.
Ready to grow? Pick one plant to start today—whether it’s crisp basil, zesty mint, or vibrant microgreens. Your future self (and taste buds) will thank you!