Picking
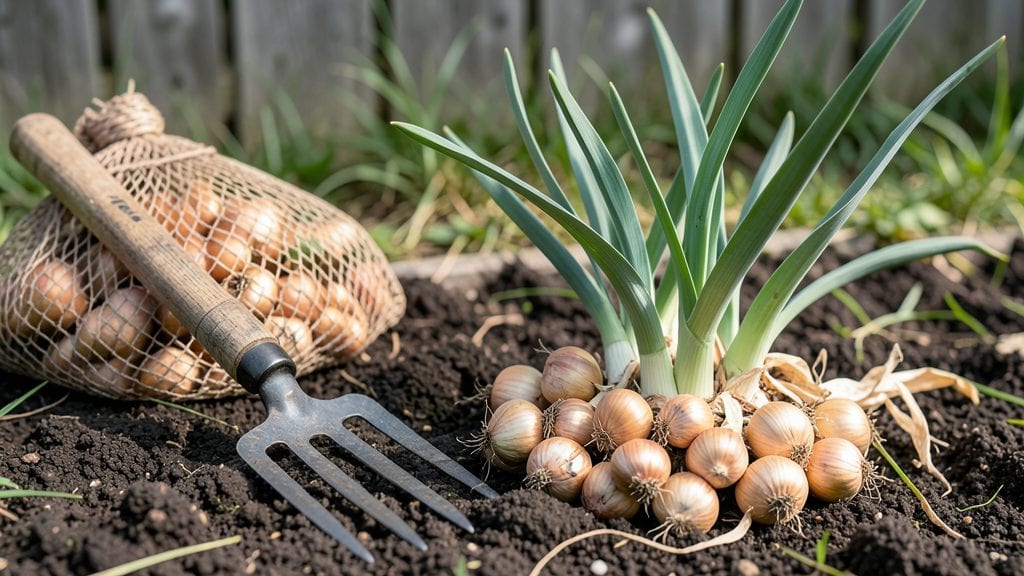
Harvesting shallots from your garden at the right time means the difference between plump, flavorful bulbs and shriveled scraps.
Shallots are one of the most rewarding crops to grow, but timing their harvest wrong can mean smaller bulbs and wasted effort. Learn the exact signals to watch for and the precise techniques to pull shallots at their peak—ensuring a bountiful harvest every season.
You’ll know they’re ready when the tops turn yellow and flop over, signaling the bulbs are fully mature. But wait too long, and the skin toughens, making them less tender. The key is acting fast once you spot those papery, dry leaves—that’s your cue to dig.
In this guide, I’ll walk you through the best time to harvest, how to pull them without damage, and what to do next to store or replant them for next year.
When to harvest shallots: key signs your bulbs are ready
Timing your shallot harvest perfectly is the difference between plump, flavorful bulbs and shriveled disappointments. Unlike onions, shallots mature gradually, so knowing when to pull them requires watching for three key visual cues—leaf color, bulb size, and skin texture.
Miss these signals, and you risk losing your entire crop to rot or bolting.
Most gardeners plant shallots in early spring (March-April), and they typically reach harvest readiness between 90-120 days after planting. However, this timeline shifts slightly based on your USDA zone and local climate.
In Zone 6a, for example, expect harvests between late August and early October when daytime temps drop below 85°F.
Here’s the summary-table breaking down the exact conditions to watch for:
| Harvest Indicator | Description | Action Required |
|---|---|---|
| Leaf Color | Tops turn straw-yellow and flop over naturally | Harvest within 3-5 days to prevent rot |
| Bulb Size | Diameter reaches 1-2 inches (golf-ball sized) | Stop watering 1 week before to harden skins |
| Skin Texture | Outer layers become papery and dry | Use a garden fork to lift gently |
| Weather | Daytime temps below 85°F and dry soil | Harvest on a dry, sunny morning for best results |
| Time After Planting | 90-120 days (varies by variety) | Mark planting date to track progress |
One of the biggest mistakes I see is harvesting too early when the leaves are still green. At this stage, bulbs are small and soft, lacking the full depth of flavor.
Conversely, waiting too long—until leaves are completely brown and crispy—risks the bulbs splitting or rotting in wet soil. Aim for that goldilocks zone where tops are yellow but not dead.
Pro tip: If you’re unsure, dig up one test bulb to check its size. A mature shallot should feel firm and heavy for its size, with a dry papery skin.
If it meets these criteria, your entire patch is ready. For longer storage, prioritize harvesting when daytime temps are consistently below 80°F to prevent premature sprouting.
Your local climate plays a huge role in timing. In cooler zones (Zones 3-5), shallots may mature earlier (late July-August), while warmer zones (Zones 7-10) can extend harvests into November.
Always monitor soil moisture—too-wet conditions accelerate rot, while dry spells can cause bulbs to shrivel. Aim for moderate moisture throughout the growing season, then reduce watering 2 weeks before harvest.
For organic gardeners, avoid synthetic fertilizers in the final 6 weeks before harvest, as they can lead to bitter-tasting bulbs. Instead, use compost tea or a low-nitrogen fertilizer to support root development without overstimulating foliage. This balance ensures your shallots develop sweet, robust flavors while maintaining structural integrity.
If you’re growing shallot varieties like ‘French Grey’ or ‘Red Sun’, expect slightly larger bulbs (up to 2.5 inches in diameter) compared to standard types. These varieties often take 10-14 extra days to mature, so adjust your harvest window accordingly.
Always check the seed packet for variety-specific guidance—some are bred for early harvest, while others prioritize size and storage life.
Finally, never harvest shallots after the first frost in your area. Frost damages the outer skins, making bulbs prone to rot during storage. In Zone 6a, this means wrapping up harvests by mid-October.
If you miss the window, you can still dig up bulbs for immediate use, but they won’t store well. Plan ahead to avoid this common pitfall!
Step-by-Step guide to pulling shallots without damaging the bulbs
Harvesting shallots at the right time ensures plump, flavorful bulbs that store well for months. The key is gentle extraction—using the right techniques to avoid cuts, bruises, or broken cloves.
I’ve harvested shallots for years, and I’ve learned that patience and preparation make all the difference between a messy pile of damaged bulbs and a clean, organized harvest ready for storage.
Before you even touch the soil, gather your essential tools: a garden fork or hand trowel, a bucket or basket, and gardening gloves to protect your hands. Work on a dry, sunny day—this prevents soil from sticking to the bulbs and helps them dry faster.
Timing is everything, so choose a morning when the soil is slightly damp but not soggy, making it easier to loosen without tearing the bulbs.
How to Harvest Shallots Without Damage
- 🌱 Step 1: Loosen the Soil – Use a garden fork to gently lift soil around the shallot plants, working about 4-6 inches away from the base. Avoid stabbing the fork directly into the bulbs to prevent punctures.
- 🪴 Step 2: Gently Lift the Plants – Grasp the green tops firmly and pull upward with a steady motion. If resistance occurs, wiggle the plant slightly to loosen it from the soil without forcing.
- ✂️ Step 3: Shake Off Excess Soil – Once pulled, shake off loose dirt gently or use your hands to brush it away. Avoid running water or hose sprays, as this can cause the bulbs to split.
- 🧅 Step 4: Trim the Tops – Cut the green foliage back to about 1 inch above the bulb using a clean, sharp knife. This reduces moisture loss and helps the bulbs cure properly.
- 🌞 Step 5: Cure the Bulbs – Lay the shallots in a single layer on a dry, shaded surface (like a mesh screen or wooden tray) for 2-3 days. This allows the outer skin to dry and toughen, preventing rot during storage.
One of the most common mistakes I see is harvesting too early—when the bulbs are still small and soft. This leads to poor storage life and weaker flavor. Always wait until the tops turn yellow and flop over, and the bulbs feel firm to the touch.
Another pitfall is using dull tools, which can crush or slice into the bulbs. Invest in a sharp garden fork or trowel to make extraction cleaner and safer.
After harvesting, inspect each bulb for cuts, bruises, or soft spots. Discard any damaged shallots immediately, as they won’t store well. For the rest, store them in a cool, dry place with good airflow, like a mesh bag or cardboard box.
Avoid plastic containers, which trap moisture and encourage mold. With proper handling, your shallots can last 4-6 months or even longer if stored correctly.
Pro tip: If you’re planning to replant next season, set aside a few of the largest, healthiest bulbs. These can be broken into individual cloves in early spring and replanted for a fresh crop. Just remember to cure them first—this ensures they’ll sprout reliably when planted.
With these steps, you’ll harvest intact, high-quality shallots every time, ready for cooking, storage, or replanting. Happy digging! 🌱