Lawn
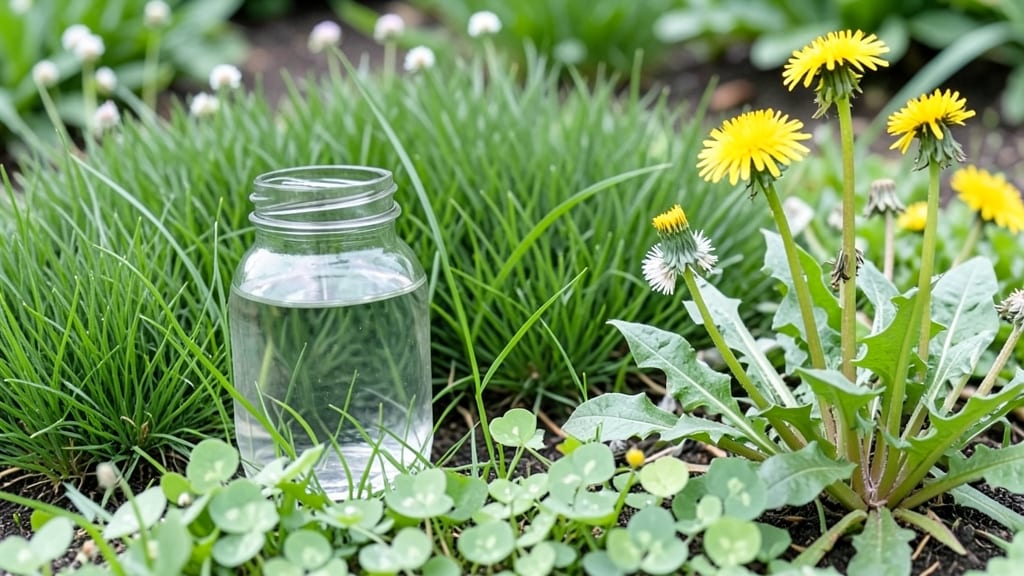
My first grass roots gardening project started on a cracked sidewalk where weeds refused to die—until I turned them into a thriving micro-garden. The key isn’t digging up the lawn; it’s working with what’s already there, transforming neglected patches into lush, functional spaces without backbreaking labor. 🌱
This approach works anywhere: between sidewalk cracks, in urban planters, or even under fruit trees where grass struggles. You don’t need fancy tools—just a shovel for occasional adjustments, some mulch, and plants that love tough conditions.
Think clover lawns, wildflower meadows, or edible ground covers like creeping thyme. The soil gets richer every year without you lifting a finger after the first setup.
By summer, you’ll have a green space that’s actively healing the earth beneath it—no-till methods mean worms and microbes thrive, rain soaks in instead of running off, and your "lawn" becomes a mini ecosystem.
The best part? It’s completely invisible to neighbors until they notice how vibrant their own yards look after seeing yours.
Perfect for renters, small spaces, or anyone tired of fighting nature’s rules. The first step is simpler than you think—let’s turn that dead patch into something alive without the digging.
📚 In This Guide
- What you need
- Instructions
- Tips and common mistakes
- Wrapping up and next steps
What you need
- ● Compost or well-aged manure: 2–3 inches spread evenly over the lawn (organic matter is key!)
- ● Topsoil or compost blend: 1–2 bags (for patchy areas or new plantings)
- ● Organic mulch (straw, wood chips, or leaves): Enough to cover 1–2 inches of soil
- ● Lawn aerator (manual or rental): Core aerator preferred for deep soil access
- ● Broadcast spreader: For even distribution of compost or fertilizer
- ● Garden rake: 18–24 inches wide (for smoothing and leveling)
- ● Watering can or hose with adjustable nozzle: For gentle hydration
- ○ Gloves and knee pads: Because comfort matters! (Optional but highly recommended 😉)
- ● Biochar or worm castings: Boosts soil microbes and nutrient retention
- ● Cover crops (clover, ryegrass): Plant in fall/winter to prevent erosion
- ● Soil test kit: Check pH and nutrient levels before amending
- ● Organic fertilizer (low-nitrogen): For slow-release nutrition (e.g., fish emulsion)
- ● Seed tape or grass plugs: For spot-repairing bare patches
Step-by-Step guide to grass roots gardening for year-round soil revival
Revitalize your soil effortlessly using a no-dig approach that builds fertility naturally.
🌱 Step 1: Assess and Prepare Your Soil Surface
Start by examining your soil’s current state without disturbing it. Look for signs of compaction—press your finger into the top 2 inches of soil. If it feels hard or resists penetration, your soil needs aeration. Mark any areas with visible weeds or debris using a garden flag or spray paint for targeted treatment later.
Use a broadfork or sturdy garden fork to gently loosen the top 6 inches of soil in a grid pattern, 12 inches apart. This breaks up compaction without inverting layers, preserving soil structure. Avoid digging deeper than necessary—deeper disruption can harm beneficial soil microbes and disrupt root systems.
🌿 Step 2: Layer Organic Matter for Nutrient Boost
Spread a 2-inch layer of compost over the prepared area. Choose well-aged compost to avoid introducing weeds or pathogens. For nitrogen-rich soil, mix in a 1-inch layer of leaf mold or worm castings. These materials will decompose slowly, feeding your soil over time without overwhelming plants.
Top the compost with a 1-inch layer of straw or shredded leaves to retain moisture and prevent erosion. This mulch layer also regulates soil temperature, protecting roots during extreme weather. Water lightly after adding organic matter to help it settle and begin breaking down.
⏰ Step 3: Plant Cover Crops for Seasonal Soil Health
Sow a fast-growing cover crop like clover or winter rye in early spring or late summer, depending on your climate. These plants prevent erosion, suppress weeds, and improve soil structure as they grow. Aim for 10-15 seeds per square foot, spaced evenly to ensure full coverage.
Allow the cover crop to grow until it reaches 6-12 inches tall, then mow it down and leave the cuttings on the soil as mulch. This process, called "green manuring," adds organic matter and stimulates microbial activity. In cooler climates, let cover crops overwinter—their roots will break down and enrich the soil in spring.
💧 Step 4: Maintain Moisture and Monitor Progress
Water the soil regularly to keep the top 2 inches moist but not soggy. Overwatering can lead to anaerobic conditions, which harm beneficial microbes. Use a rain gauge or your finger to check moisture levels—if the soil feels dry ½ inch down, it’s time to water.
Every 4-6 weeks, top-dress with another ½-inch layer of compost or aged manure. This gradual feeding ensures a steady supply of nutrients without overwhelming your plants. Observe soil improvements like darker color, better drainage, and increased earthworm activity as signs your efforts are working.
☀️ Step 5: Transition to Planting Without Disturbing Soil
Once your soil is enriched and loose, create planting holes using a dandelion digger or your fingers. This tool lets you make precise holes without turning the soil. Plant seeds or transplants directly into these holes, ensuring roots aren’t buried deeper than they were in their original container.
After planting, apply a 1-inch layer of mulch around each plant, keeping it 2 inches away from stems to prevent rot. This mulch will protect your soil from erosion, retain moisture, and gradually decompose, continuing to feed your plants. Over time, your soil will become richer, more fertile, and easier to work with—all without traditional digging.
Tips & tricks for perfect grass roots gardening
Don't let common gardening pitfalls derail your soil revival—these insights will help you achieve thriving soil without the backbreaking work.
The Compaction Test: In Step 1, when checking for compaction, press your finger into the top 2 inches of soil. If it feels firm like a brick, you're dealing with significant compaction that needs attention. I've found that using a broadfork in a grid pattern—12 inches apart—creates channels that allow air and water to penetrate without disrupting the soil's natural structure. This mimics how earthworms naturally aerate soil.
Layering Strategy: The 2-inch compost layer in Step 2 is your foundation, but here's what I've learned about the sequence: Start with the compost, then add the 1-inch nitrogen boost (leaf mold or worm castings), and finally top with straw. This order prevents the nitrogen-rich layer from leaching away before it can be utilized. Think of it like building a lasagna—each layer serves a specific purpose that builds on the one below.
Cover Crop Timing: When sowing your 10-15 seeds per square foot in Step 3, timing is everything. In warmer climates, aim for early spring or late summer to avoid the heat stress of summer planting. In cooler regions, late summer planting lets cover crops establish before winter. The key is to have them reach 6-12 inches before the first frost—this ensures they'll have enough time to build biomass before overwintering.
Moisture Monitoring: Maintaining that 2-inch moist zone in Step 4 requires consistency. I've found that checking moisture at the ½-inch depth (as mentioned) is more reliable than just looking at the surface. Early morning is the best time to check—this is when soil moisture is most representative of the overall condition. And remember, the goal is to keep it moist, not soggy; you're nurturing microbes, not creating a swamp.
Pro Tips for Grass Roots Gardening
- Don't let common gardening pitfalls derail your soil revival—these insights will help you achieve thriving soil without the backbreaking work.
- The Compaction Test: In Step 1, when checking for compaction, press your finger into the top 2 inches of soil.
- This order prevents the nitrogen-rich layer from leaching away before it can be utilized.
Frequently asked questions
Got questions about grass roots gardening? You’re not alone!
Here are some of the most common concerns—plus simple, no-dig solutions to keep your soil thriving year-round.
What’s the easiest way to start grass roots gardening without tilling?
Skip the shovel! Layer compost or mulch directly over existing grass (or weeds) and top with a thin layer of soil. Over time, the grass will decompose, enriching the soil naturally. This method is called sheet mulching or lasagna gardening—no digging required!
How long does it take to see results?
Patience is key! With sheet mulching, you’ll notice improved soil texture and moisture retention in 4–6 weeks. For full decomposition and plant-ready beds, plan for 3–6 months, depending on climate and materials. Test soil health with a simple pH kit to track progress.
Can I do this in heavy rain or drought-prone areas?
In rainy climates, use carbon-rich layers (leaves, straw) to prevent compaction. For drought, prioritize organic matter (compost, manure) to retain moisture. Always slope beds slightly for drainage—no puddles allowed!
Will grass roots gardening attract pests like rodents or insects?
Not if you balance your layers! Use nitrogen-rich greens (grass clippings, alfalfa) and carbon-rich browns (cardboard, straw) to avoid rot. Avoid meat scraps or oily foods—stick to plant-based materials. Healthy soil = fewer pests!
What if my grass is thick or invasive (like Bermuda grass)?
Smother it! Lay down 6–12 sheets of wet newspaper or cardboard under your mulch layer to block sunlight. The grass will die within 2–4 weeks. For stubborn weeds, add a thick layer of straw (6+ inches) to starve them out.
Is this method cheaper than traditional gardening?
Yes! Skip the pricey soil amendments—use free/cheap materials like yard waste, leaves, or local compost. Over time, your soil will become so fertile, you’ll give away extra harvests. Win-win!
Wrapping up and next steps
Grass roots gardening isn’t just about reviving your soil—it’s about reclaiming your space with minimal effort and maximum impact. By embracing no-dig techniques, you’ve taken the first step toward a healthier lawn, stronger plants, and a more sustainable yard—all while working with nature, not against it. 🌱
Ready to see your garden thrive? Start small: pick one area to test these methods this season, track your progress, and let curiosity guide you. Before you know it, your entire yard could be a lush, low-maintenance paradise—one layer at a time.