Vegetables
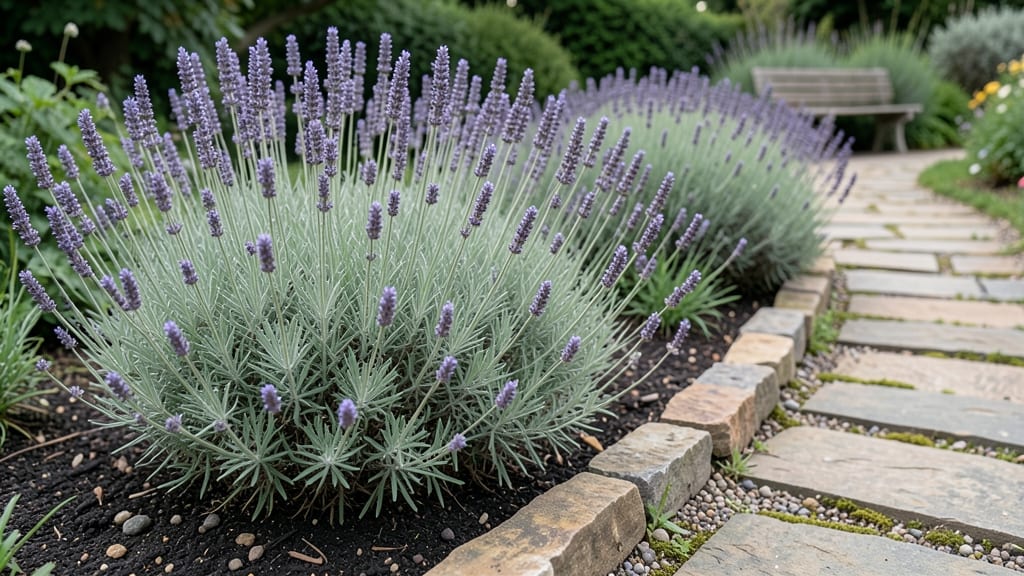
Gardens for living aren't just pretty—they're the heart of your daily rhythm, where fresh herbs brush your fingertips while you cook, where tomatoes ripen just in time for dinner, and where every square foot earns its keep. 🌿 I designed my first one after realizing my tiny balcony could do more than hold a single pot of basil.
Now it feeds us year-round, from microgreens in winter to zucchini in summer, all while looking intentional, not overwhelmed.
The magic lies in layering functions: a raised bed doubles as a prep table, trellises become vertical storage, and shade cloth turns into a drying rack. You don’t need fancy tools—just containers that fit your space, plants that thrive in your climate, and a system where harvests happen at mealtime.
My setup uses 3 square feet of deck space for greens, 5 gallons of containers for tomatoes, and a hanging window box for herbs, all within arm’s reach of my kitchen.
What you’ll end up with is a garden that works as hard as you do—where pulling weeds feels like part of the routine, not a chore, and where the first bite of a homegrown tomato tastes like success. The best part?
It grows with you: add a chair for morning coffee, a small table for meals, and suddenly your garden isn’t just productive—it’s a place to live, too. Here’s how to make it happen in any space.
This approach works whether you’re in a city apartment, a suburban backyard, or a rural homestead with limited ground. The key is matching plants to your lifestyle: fast growers for impatient cooks, shade-tolerant crops for north-facing spots, and cold-hardy greens for winter harvests.
Start small, then expand as your confidence—and your appetite—grows.
📚 In This Guide
- What you need
- Instructions
- Tips and common mistakes
- Wrapping up and next steps
What you need
- ● Growing Containers: 5–10 10–15 gallon fabric or plastic grow bags (for root veggies like carrots or beets)
- ● 3–5 raised bed frames (4’x8’ or smaller) (with hardware cloth for pest protection)
- ● 2–3 vertical planters or trellises (for climbing plants like peas or cucumbers)
- ● Soil & Amendments: 2–3 50 lb bags of high-quality potting mix (sterile, well-draining)
- ● 1 compost or worm castings (5–10 lbs per container/bed)
- ● 1 slow-release fertilizer (10-10-10 or organic option)
- ● Tools: 1 hand trowel (for transplanting seedlings)
- ● 1 pruners or small shears (for harvesting and trimming)
- ● 1 watering can or drip irrigation kit (with adjustable nozzles)
- ● 1 pH test kit (to monitor soil health)
- ● 1 mini greenhouse or cold frame (for extending seasons in cooler climates)
- ● 2–3 seed-starting trays (for early sowing indoors)
- ● 1 mulch (straw or shredded leaves) (to retain moisture and suppress weeds)
- ● 1 soil thermometer (to track planting times for heat-loving crops)
- ● 1 portable LED grow lights (for winter seedlings)
How to design a year-round small-space garden
Here's my go-to approach for packing productivity into tight spaces while keeping it manageable year-round.
🌱 Step 1: Plan Your Seasonal Layers
Start by dividing your space into three vertical layers: overhead, mid-height, and ground level. I use overhead space for trellises with vining plants like pole beans or cucumbers—these grow upward and keep the ground clear. For mid-height, choose compact shrubs like dwarf fruit trees or bush herbs that don't need wide spreading roots. The ground level is perfect for spreading plants like strawberries or lettuce.
Think about what grows best in each season. In spring, focus on cool-season crops like spinach and peas. Summer calls for heat-lovers like tomatoes and peppers, while fall brings in kale and carrots. Winter can still be productive with cold-hardy greens under row covers. This layered approach ensures you're always harvesting something.
☀️ Step 2: Optimize Sunlight Exposure
Small spaces mean every inch of sunlight matters. First, observe how much sun each area gets throughout the day. I always place the sunniest spot—usually a south-facing wall or window—with the most light-demanding plants like tomatoes or basil. If your space gets only partial sun, opt for shade-tolerant varieties like Swiss chard or lettuce.
Use reflective surfaces like white walls or mirrors to bounce extra light into shadier corners. I also rotate containers every few weeks so plants grow evenly. Watch for leggy growth—this is your signal that a plant needs more light. If you notice stems stretching toward the light source, move it closer or supplement with a small grow light.
🪴 Step 3: Choose the Right Containers and Layout
For small spaces, containers are your best friend. I prefer stackable or vertical planters to maximize vertical growth. Start with 12-18 inch deep containers for root crops like carrots or potatoes, while shallower 6-8 inch pots work for herbs and leafy greens. Arrange containers in a way that allows easy access to all plants—aim for 18-24 inches between rows for airflow and maintenance.
Group plants with similar watering needs together to simplify care. For example, place basil, lettuce, and spinach in one corner since they all prefer consistent moisture. Avoid placing thirsty plants like tomatoes next to drought-tolerant ones like rosemary. This grouping makes irrigation a breeze and prevents over- or under-watering.
✂️ Step 4: Implement Year-Round Care Strategies
To keep your garden productive all year, focus on seasonal swaps. In late summer, start seeds for fall crops like radishes or arugula while your summer plants are still producing. Use row covers or cold frames in winter to extend the growing season for hardy greens. I also harvest regularly to encourage continuous production—pinch back herbs like cilantro to keep them bushy, and pick leaves from lettuce to prevent bolting.
Don’t forget to rotate crops annually to prevent soil depletion and disease. Keep a simple garden journal to track what you plant where and when. This helps you remember what thrives in each spot and what needs adjusting. For example, if tomatoes struggled in one container last year, try peppers there this year—they have different nutrient needs.
💧 Step 5: Maintain Moisture and Soil Health
Small spaces dry out faster, so mulch heavily with 2-3 inches of organic mulch like straw or shredded leaves to retain moisture and suppress weeds. Water deeply 2-3 times per week, depending on the season, and always check the top inch of soil before watering—if it’s dry, it’s time. I use a drip irrigation system for containers to deliver water right to the roots without waste.
Feed your plants with a balanced, slow-release fertilizer every 4-6 weeks during the growing season. For containers, I mix in compost tea every few weeks to boost nutrients without overloading the soil. Watch for yellowing leaves—this often signals overwatering or nutrient deficiency. Adjust your care routine accordingly, and your plants will stay healthy and productive.
Tips & tricks for perfect year-round small-space gardens
Transforming tight spaces into productive gardens takes smart planning—and these tricks will help you avoid common pitfalls while maximizing every inch.
Layer Like a Pro: When planning your three vertical layers in Step 1, remember that overhead plants like pole beans need sturdy trellises that can support 10-15 pounds of mature vines. I use powder-coated metal trellises for durability—they won't rust like wooden ones and last for years. For mid-height plants, choose dwarf varieties that stay under 3 feet tall to avoid shading ground-level crops. This vertical stacking isn't just about space—it's about creating microclimates where each plant thrives in its ideal growing zone.
Sunlight Strategy: In Step 2, when assessing sunlight, pay special attention to morning vs. afternoon sun. East-facing windows get strong morning light perfect for leafy greens, while south-facing spots receive intense afternoon rays ideal for tomatoes and peppers. If your space gets only 4-6 hours of sun, focus on shade-tolerant herbs like parsley or cilantro—they'll still produce even with limited light. For containers, rotate them weekly to ensure even growth on all sides, especially if your space has directional light sources.
Container Confidence: The container depths in Step 3 are crucial—root crops like carrots need those 12-18 inch deep containers to develop properly, while shallower pots for herbs prevent overwatering. Pro tip: Use fabric grow bags instead of plastic pots for better drainage and root aeration. When arranging your 18-24 inch spacing, think about your reach—place frequently harvested plants like lettuce or herbs within arm's length from where you'll be standing. This "work triangle" approach saves time and makes gardening more enjoyable.
Seasonal Swap Secrets: For the year-round strategy in Step 4, I recommend keeping a "swap calendar" where you note which plants will be ready to harvest by late summer. This helps you plan your fall succession crops with precision. When using row covers in winter, make sure they're secured tightly at the edges—even a small gap can let in cold air that damages tender greens. And here's a bonus: save seeds from your best-performing plants each year to maintain genetic traits that work perfectly in your microclimate.
Pro Tips for Gardens For Living
- Transforming tight spaces into productive gardens takes smart planning—and these tricks will help you avoid common pitfalls while maximizing every inch.
- Layer Like a Pro: When planning your three vertical layers in Step 1, remember that overhead plants like pole beans need sturdy trellises that can support 10-15 pounds of mature vines.
- Sunlight Strategy: In Step 2, when assessing sunlight, pay special attention to morning vs. afternoon sun.
Frequently asked questions
Got questions about creating a thriving gardens for living in small spaces? You’re not alone! Here are answers to the most common queries to help you grow confidently—no matter your experience level.
What are the easiest vegetables to grow in a small garden for beginners?
Start with low-maintenance, fast-growing veggies like leafy greens (lettuce, spinach), radishes (ready in 3-4 weeks!), bush beans, or cherry tomatoes. These thrive in containers, require minimal space, and forgive beginner mistakes. Pro tip: Choose heirloom varieties—they’re often hardier and tastier!
How long does it take to see results in a small garden?
Some crops reward you in weeks! Radishes and green onions sprout in 2-3 weeks, while herbs like basil or cilantro can be harvested in 4-6 weeks. Larger plants (e.g., tomatoes, peppers) take 8-12 weeks to bear fruit. Success tip: Use interplanting—grow fast crops (like lettuce) between slower ones (like carrots) to maximize space and time!
Can I grow a productive garden on a balcony or patio without a yard?
Containers, vertical gardens (like trellises for beans or peas), and even hanging planters work wonders. Just ensure your setup gets 6+ hours of sunlight daily and uses well-draining soil. Try self-watering pots to save time and keep roots happy!
What’s the best way to extend the growing season in a small garden?
Use season extenders like cold frames, row covers, or mini greenhouses to protect plants from frost. Start seeds indoors 6-8 weeks before the last frost, then transplant outdoors. For fall/winter, opt for hardy greens (kale, Swiss chard) or root veggies (carrots, beets). Mulch heavily to insulate soil!
How do I keep pests away without chemicals in a small space?
Prevent pests naturally with companion planting (e.g., basil near tomatoes), neem oil sprays, or row covers. Encourage beneficial insects like ladybugs or lacewings by adding pollinator-friendly flowers (marigolds, nasturtiums). Inspect plants weekly—early action stops small problems fast!
Still stumped? Drop your questions in the comments—we’re happy to help you grow!
Wrapping up and next steps
Creating a year-round bountiful garden in small spaces isn’t just possible—it’s a rewarding journey that connects you to nature while nourishing your body and soul. 🌱 With the right layout, smart plant choices, and a little creativity, even the tiniest balcony or backyard can become a thriving oasis.
Whether you’re growing leafy greens, herbs, or root vegetables, the key is to start small, stay consistent, and enjoy the process.
Ready to take the next step? Sketch your space, pick 1-2 easy crops to begin, and dive in! Your future self—and your taste buds—will thank you. Happy gardening! 🌿