Pruning
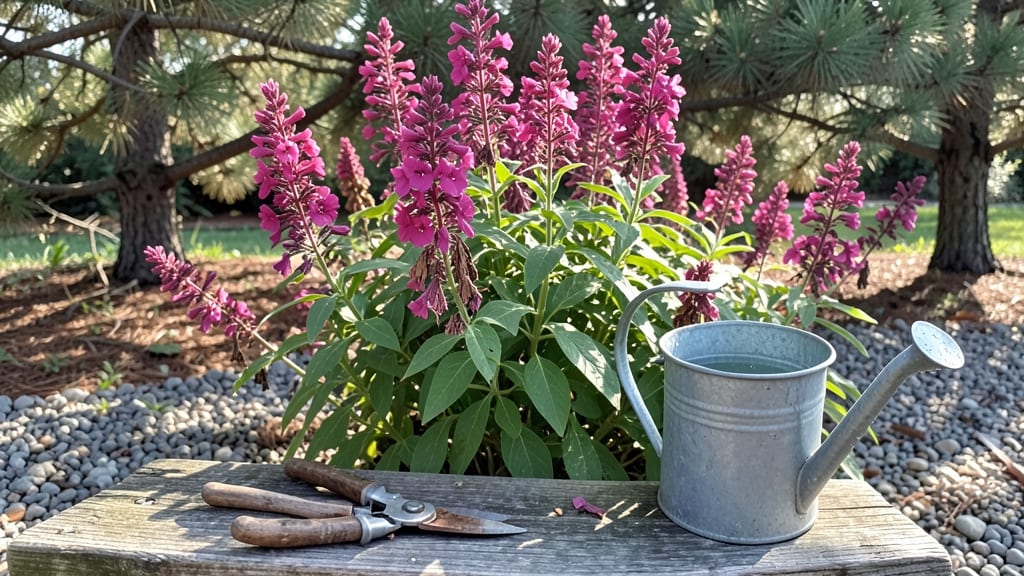
Deadheading garden phlox transforms a single flush of blooms into a nonstop summer show—and the technique is simpler than you’d expect. I’ve spent years watching phlox go from a single burst of color to weeks of vibrant flowers by making just one small cut at the right time.
The key isn’t precision; it’s timing and a steady hand.
You’ll need sharp pruners (dull blades crush stems) and 10 minutes after the petals fade. Snip just above the first set of healthy leaves below the spent bloom, and you redirect the plant’s energy from seed production to new buds.
Over-prune, and you’ll stunt growth; skip it, and your phlox will fade by July. The difference is striking.
What you’ll get is a bush that keeps flowering until frost, with stems packed tighter and blooms larger than before. The fragrance—sweet and honey-like—lingers longer too. This isn’t just about looks; it’s about extending the season when your garden craves color most.
Works for all phlox varieties, from tall border types to dwarf ground covers. Once you see the results, you’ll wonder why you didn’t do this sooner. Let’s get those blooms going longer.
📚 In This Guide
- What you need
- Instructions
- Tips and common mistakes
- Wrapping up and next steps
What you need
- ● Sharp pruning shears (bypass or anvil type) – Choose 5- to 7-inch blades for precision cuts.
- ● Hand pruners – For smaller stems or tight spaces (ergonomic grips help reduce hand fatigue!).
- ● Garden gloves – Lightweight, breathable fabric (e.g., nitrile-coated for grip).
- ● Disposable pruning bags or bucket – 1-2 gallon capacity to collect spent blooms.
- ● Rubbing alcohol (70% isopropyl) or bleach solution – 1 part bleach to 9 parts water for sterilizing tools between cuts.
- ○ Sharpie or garden marker – Optional, for labeling stems if dividing plants later.
- ● Knee pads or garden stool – For comfort during longer sessions.
- ● Spray bottle with water – To mist tools and prevent rust.
- ● Compost bin or bin bags – For repurposing deadheaded blooms (phlox is pest-resistant, so no worries!).
- ● Sunhat or wide-brimmed hat – For sunny deadheading days!
Instructions for deadheading garden phlox
Here's the straightforward method I use to keep my phlox flowering all summer long.
Identify the Right Time to Deadhead
Wait until a flower cluster has fully opened and begins to fade—you'll notice petals dropping or turning brown at the edges. This is the signal that energy is shifting from blooms to seed production, and removing spent flowers redirects that energy back into new growth. I always check clusters in the morning when petals are fully open and dry, making it easier to spot faded blooms.
Never deadhead when buds are still tightly closed or when rain has left flowers damp. Wet stems snap easily, and you risk damaging healthy buds. If you're unsure, pinch off just the faded bloom and leave the rest—your phlox will still reward you with more flowers.
Use Clean, Sharp Pruners for Precision Cuts
Grab your pruners and make a clean cut just above the first set of healthy leaves below the faded bloom. This ensures you're removing only the spent flower and not damaging the stem's growth point. I like to hold the stem at a slight angle to see exactly where the leaves begin—this helps me avoid cutting too low and accidentally removing leaf nodes.
Avoid using your fingers or scissors. Pruners give you cleaner cuts that heal faster, reducing the risk of disease entering the plant. If you're working with large clusters, you can snip off entire stems at the base if they're completely finished blooming. This keeps the plant tidy and encourages bushier growth.
Remove Only the Spent Blooms
Focus on cutting back just the faded flowers, not the entire stem. Leaving some buds intact ensures you'll have more blooms to enjoy. I like to work my way through the plant in sections, starting at the outer edges and moving inward. This way, I can easily see what I've done and what still needs attention.
If you accidentally cut too much, don't worry—phlox is forgiving. Just leave a few buds on each stem, and you'll still get plenty of new flowers. The key is consistency; a little effort now means a longer, more abundant blooming season.
Maintain Regular Deadheading for Continuous Blooms
Check your phlox every 3-5 days during peak bloom season. This keeps the plant producing new flowers instead of wasting energy on seed heads. I set a reminder on my phone to inspect them on weekends—it only takes a few minutes and makes a huge difference in how long they keep flowering.
After the first flush of blooms slows down in late summer, you can reduce deadheading to just the most obvious spent flowers. Phlox naturally produces a second wave of blooms if you let a few stems go to seed. This helps sustain the plant and ensures it has energy for next year's growth.
Clean Up and Prevent Disease
After deadheading, toss the spent flowers into the compost or trash—never leave them on the ground. Wet, decaying petals can attract pests and spread disease. I like to use a small bucket or bag to collect the cuttings as I work, making cleanup quick and easy.
Once you're done, give your phlox a light watering to help it recover from the pruning. This also washes away any debris that might have fallen on the plant during deadheading. A healthy phlox will reward you with vibrant, long-lasting blooms all season if you keep up with this simple routine.
Tips and tricks for deadheading garden phlox
A few simple strategies will help you keep your phlox blooming beautifully all season long.
The Timing Secret: In Step 1, I recommend checking your phlox in the morning when petals are fully open and dry. This is when faded blooms are easiest to spot, and the stems are less likely to snap unexpectedly. If you're short on time, focus on the most obvious faded flowers first—they're the ones that have already started shifting their energy toward seed production. Trust me, this small adjustment makes all the difference in how long your phlox keeps flowering.
Precision Cutting Technique: When making those clean cuts in Step 2, hold the pruners at a slight angle to better see where the leaves begin. This helps you avoid cutting too low and accidentally removing leaf nodes, which are crucial for new growth. If you don't have pruners, you can use clean, sharp scissors—but make sure to sterilize them with rubbing alcohol first to prevent spreading disease between cuts.
Consistency is Key: The 3-5 day interval mentioned in Step 4 is perfect for maintaining continuous blooms, but don't stress if you miss a day or two. Phlox is remarkably forgiving. What matters most is establishing this routine early in the blooming season. I've found that setting a weekend reminder on my phone helps me stay consistent without it feeling like a chore. Even just 10 minutes of focused deadheading can make a noticeable difference in your plant's productivity.
Disease Prevention: In Step 5, I mentioned tossing spent flowers into compost or trash, but here's an extra tip: if you're using a bucket to collect cuttings, add a small amount of water to the bottom. This helps keep the bucket clean and makes cleanup even easier. Also, avoid deadheading after rain if possible—wet stems are more prone to breakage and disease. If you must work with damp flowers, use sterilized tools and work quickly to minimize risk.
Pro Tips for Deadheading Garden Phlox
- A few simple strategies will help you keep your phlox blooming beautifully all season long.
- The Timing Secret: In Step 1, I recommend checking your phlox in the morning when petals are fully open and dry. This...
- Precision Cutting Technique: When making those clean cuts in Step 2, hold the pruners at a slight angle to better see...
Frequently asked questions
Got questions about deadheading garden phlox? You’re not alone!
Here are the most common queries—and straightforward answers—to help you keep your phlox blooming like crazy all season.
What’s the best time of day to deadhead garden phlox?
Deadhead phlox in the morning when flowers are dry and dew has evaporated. This reduces stress on the plant and minimizes the risk of fungal diseases. Avoid evening deadheading, as damp conditions can promote rot.
How often should I deadhead garden phlox for continuous blooms?
Check your phlox daily during peak bloom (late spring to early fall). Remove spent blooms immediately—the sooner you snip, the longer new flowers will appear. Over time, this encourages bushier growth and prolongs the flowering season.
Can I deadhead garden phlox too aggressively? What are the signs?
Yes! If you cut back too much (especially into old wood), you may stunt regrowth. Signs of over-pruning include sparse foliage, fewer blooms, or leggy stems. Aim to trim just above a set of healthy leaves or buds, never more than ⅓ of the plant at once.
What if my garden phlox stops blooming after deadheading?
Several factors could be at play: overcrowding (thin plants if needed), poor soil (add compost), or lack of sunlight (6+ hours daily is ideal). Also, avoid heavy fertilizers—phlox thrives on balanced, low-nitrogen feedings to encourage flowers over foliage.
Are there alternatives to deadheading for lazy gardeners?
If deadheading feels tedious, try selective pruning: Focus on removing only the most spent blooms while leaving others. Another trick? Let a few flowers go to seed—they’ll self-sow for next year’s free phlox! Just monitor for pests or disease in neglected areas.
Wrapping up and next steps
Deadheading garden phlox doesn’t have to be a daunting task—just a quick, rewarding snip to keep your blooms thriving! 🌸 By removing spent flowers regularly, you’ll encourage longer, more abundant flowering and keep your garden looking fresh all season.
Whether you’re a seasoned gardener or just starting out, this simple technique is your secret to stunning phlox.
Now that you’re armed with the know-how, grab those shears and give your phlox the TLC it deserves. Ready for the next step? Try experimenting with pruning other perennials in your garden—you’ll be amazed at the difference!