
Tools
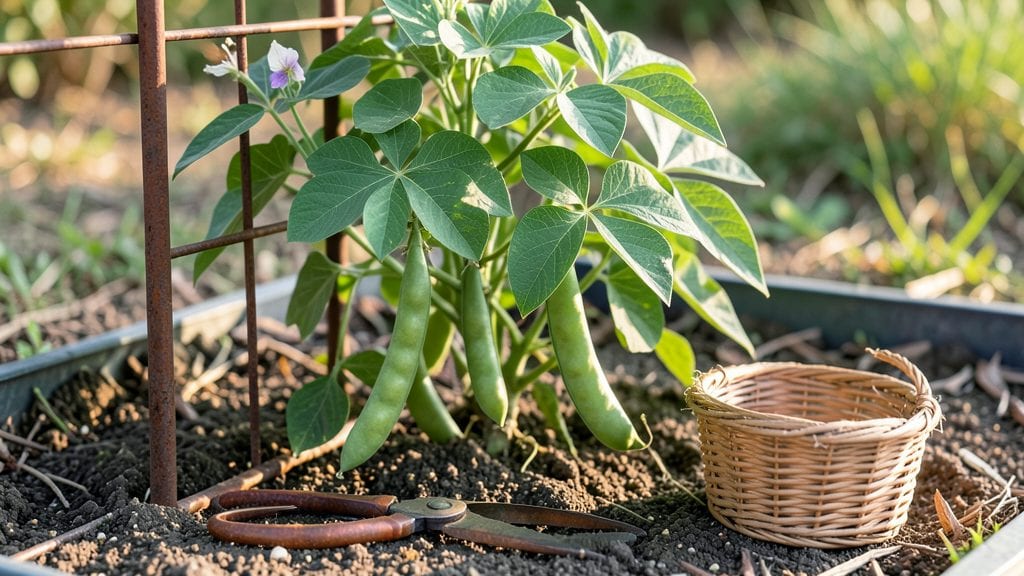
My first cattle panel garden bed still stands strong after eight years—no rot, no warping, just solid, rustic frames holding soil like a dream. 🌱 These panels turn scrap metal into the most durable raised beds you’ll ever build, and the best part?
They cost a fraction of pre-made wood beds. The heavy-duty galvanized steel resists pests, weather, and even the occasional curious raccoon digging for snacks.
You can build everything from classic raised beds to vertical planters or even trellises for climbing plants. My favorite setup is a 4-foot-wide bed with 2-foot-high sides—perfect for tomatoes, peppers, and herbs.
The panels snap together like puzzle pieces, and you can customize the size by cutting them with a reciprocating saw (just wear a mask—those sparks fly!). For extra stability, I bury the bottom edges slightly or anchor them with stakes.
Once filled with soil, these beds warm up faster in spring and stay productive longer into fall. Strawberries thrive along the edges, beans climb the sides, and even heavy feeders like squash don’t sag the frames.
Water drains perfectly through the gaps, and weeds struggle to take hold. The rustic look blends seamlessly with any garden style, whether you’re going full farmhouse or keeping it modern with clean lines.
Here’s the kicker: these beds last decades with minimal upkeep. A fresh coat of paint every few years keeps them looking sharp, and if a panel ever rusts through, it’s a $20 replacement—not a $200 rebuild.
Ready to build a garden that outlasts your gardening gloves? Let’s get started with the tools and steps you’ll need.
📚 In This Guide
- What you need
- Instructions
- Tips and common mistakes
- Wrapping up and next steps
What you need
- ● Cattle panels: 4–6 heavy-duty 16-gauge galvanized steel panels (48"–60" wide, 10–12 ft long). Pro tip: Check for T-post compatibility!
- ● T-posts: 12–16 24"–30" galvanized steel T-posts (for corner supports and panel connections).
- ● U-bolts: 24–36 ½" galvanized steel U-bolts + washers/nuts (for securing panels to posts).
- ● Gate hardware: 1–2 heavy-duty hinges + latch (if adding a removable gate).
- ● Landscape fabric: 1 roll 30"–48" wide (to block weeds and retain soil).
- ● Garden soil: 2–4 cubic yards high-quality topsoil or a mix of soil + compost (depending on bed size).
- ● Post hole digger or auger (for T-post placement).
- ● Hammer or mallet (for driving T-posts).
- ● Wrench (adjustable or 10mm socket for U-bolts).
- ● Measuring tape + level (for precision).
- ● Work gloves (because rusty panels are no joke!).
- ○ Optional: Wheelbarrow (for soil), staple gun (for fabric), or circular saw (if cutting panels).
- ● Flat, well-drained ground (remove rocks/debris first!).
- ● Sunny spot with 6+ hours of sunlight (unless growing shade-loving plants).
- ● Plan your garden layout—measure space and panel dimensions before buying!
- ● Patience (and maybe a friend to help with heavy panels!).
How to build durable cattle panel raised garden beds
Here's my go-to method for creating sturdy, long-lasting raised beds using repurposed cattle panels.
🪴 Step 1: Gather Materials and Tools
You'll need 4 cattle panels (cut to your desired bed length), 4 corner posts (4x4 lumber, 3 feet tall), 1 bag of 3-inch exterior screws, 1 bag of landscape fabric, and 1 bag of garden soil. I also recommend a post hole digger, drill, level, and gloves—this project gets rusty fast if you're not prepared.
Measure your space first. A standard cattle panel is 4 feet wide, so for a 4-foot-wide bed, you'll need two panels for the sides and two for the ends. For a longer bed, simply add more side panels. Sketch a quick layout to visualize how many panels and posts you'll need before heading to the hardware store.
✂️ Step 2: Cut and Assemble the Frame
Use a reciprocating saw or angle grinder to cut the cattle panels to your desired length. I like to start with 8-foot lengths for a good-sized bed, but adjust based on your space. Sand down any sharp edges—those barbed wires are no joke! Once cut, lay two side panels flat and attach the end panels at the corners using 3-inch exterior screws.
Double-check the corners are square by measuring diagonally from one corner to the opposite. If the measurements match, your frame is perfectly aligned. For extra stability, add a horizontal cattle panel brace about 1 foot from the top of each corner. This prevents the frame from flexing over time.
🪴 Step 3: Install Corner Posts and Secure the Frame
Dig holes for your 4x4 corner posts about 8-10 inches deep—deep enough so the post sits flush with the top of the cattle panel frame when secured. Use a level to ensure each post is perfectly vertical before backfilling with dirt and tamping it down firmly. Once the posts are set, screw the cattle panel frame into each post using 3-inch exterior screws.
I like to pre-drill holes in the cattle panels to prevent splitting. Drive screws at a slight angle into the posts for maximum strength. If your bed is longer than 8 feet, add a center post for extra support. The frame should now stand sturdy and square—no wobbling allowed!
🌱 Step 4: Line and Fill the Bed
Lay a piece of landscape fabric along the bottom of the bed to prevent weeds from creeping up from below. Secure it with landscape staples or screws. This step is optional but saves a ton of weeding later. Next, fill the bed with your garden soil, leaving about 2 inches from the top for mulch or additional soil later.
Don’t compact the soil—just spread it evenly. You want it loose so roots can penetrate easily. If you're planting immediately, add a 1-inch layer of compost on top before planting. These beds are heavy when full, so distribute the weight evenly to avoid stressing the frame.
☀️ Step 5: Add Finishing Touches and Plant
Top off the bed with a 1-inch layer of mulch (optional but recommended) to retain moisture and suppress weeds. I use shredded bark or straw, but any organic mulch works. Now, it’s time to plant! Cattle panel beds work great for vegetables, flowers, or even small shrubs. Just make sure your plants have enough space—they’ll grow faster in this rich, well-drained soil.
Water thoroughly after planting to settle the soil and encourage root growth. These beds drain exceptionally well, so you won’t have to worry about soggy roots. Check the soil moisture regularly—you’ll see how quickly it dries out compared to ground-level planting. Enjoy your durable, long-lasting garden beds that’ll outlast most other raised bed options!
Tips & tricks for perfect cattle panel garden beds
A few key tricks will help your rustic raised beds stand the test of time—and your gardening efforts.
Material Selection Tip: When choosing cattle panels, look for ones with 3-4 inch wide slats—this spacing gives roots plenty of room to breathe while still keeping weeds contained. I always check for rust spots first; if you find any, lightly sand them down before assembly to prevent them from spreading. For extra longevity, consider using galvanized panels if you're in a particularly wet climate. These hold up better against moisture over time.
Construction Pro Tip: In Step 2, when attaching the end panels, use two screws per corner instead of just one. This creates a stronger connection that won't come loose over time. I also recommend using a speed square to mark your cuts—it makes those diagonal measurements for checking square corners much easier. Don't forget to wear safety glasses when cutting; those barbed wires can be sneaky!
Post Installation Secret: For Step 3, the 8-10 inch deep holes are crucial for stability, but don't stop there. After backfilling, pack the dirt firmly around the posts with your hands or a tamper. I like to add a 5-gallon bucket of concrete mix to the bottom of each post hole before backfilling—this creates an anchor that prevents posts from shifting over time. Trust me, you'll notice the difference during windstorms.
Soil Strategy: In Step 4, when filling your bed, consider layering your soil instead of dumping it all in at once. Start with 2 inches of coarse sand or gravel at the bottom for drainage, then add your garden soil. This prevents waterlogging while still giving roots plenty of room to grow. If you're using heavy clay soil from your yard, mix in 20% compost or peat moss to improve drainage and fertility.
Pro Tips for Cattle Panel Gardening
- A few key tricks will help your rustic raised beds stand the test of time—and your gardening efforts.
- Material Selection Tip: When choosing cattle panels, look for ones with 3-4 inch wide slats—this spacing gives roots plenty of room to breathe while still keeping weeds contained.
- Construction Pro Tip: In Step 2, when attaching the end panels, use two screws per corner instead of just one.
Frequently asked questions
Got questions about cattle panel gardening?
You’re not alone! Here are answers to the most common ones to help you get started with confidence.
What’s the best time of year to build cattle panel garden beds?
Spring or early fall are ideal—soil is workable, and you avoid extreme heat or cold. If you’re in a mild climate, you can build year-round, but avoid freezing temps or soggy ground. Plan ahead to plant perennials or early crops in the same season for instant gratification!
Are cattle panels cheaper than traditional raised bed materials?
Yes! Cattle panels cost far less than cedar or composite lumber while lasting decades. A single 4-foot-wide panel (~$20–$40) can create a 4-foot-wide bed (with hardware cloth for stability). Over time, they pay for themselves in durability and low maintenance. Plus, you can repurpose them for fences or other projects!
How do I keep my cattle panel beds from tipping or shifting?
Anchor them down! Bury the bottom 4–6 inches of the panels or use U-bolts to secure them to wooden stakes. For extra stability, fill the bottom with gravel or broken bricks before adding soil. Wind or heavy rain can test them, so check connections after storms.
Can I use cattle panels for container gardening or vertical gardens?
Stack panels vertically for trellises or create tiered planters by nesting them. For containers, line the panels with landscape fabric to prevent soil spillage. Just ensure they’re sturdy enough to hold weight—add cross-bracing if needed. Get creative with herbs, flowers, or even strawberries!
What’s the easiest way to remove rust from old cattle panels?
Rust is normal, but you can slow it down! Sand off surface rust with a wire brush, then coat panels with rust-inhibiting paint or galvanized spray. For heavy rust, replace corroded sections. Galvanized panels (hot-dipped) resist rust longer than electric-galvanized ones—worth the upgrade if you’re investing long-term.
Wrapping up and next steps
Cattle panel gardening isn’t just a clever way to build durable, long-lasting garden beds—it’s a game-changer for anyone craving low-maintenance, rustic charm without the hassle. With minimal materials, customizable designs, and decades of sturdiness, these beds prove that functional meets fabulous in the best way. Whether you’re a seasoned gardener or a beginner, this method makes growing your dream garden easier than ever.
Ready to roll up your sleeves? Start small—sketch your design, gather your supplies, and build your first panel bed this weekend! Your future veggies (and your back) will thank you. 🌱✨